You may recall this beautiful farmhouse we've been working on. . .
Last fall we refinished the exterior, which was a lot of fun :)
You can see the original transformation with loads of pictures here.

Anyways, here she is before. . .

Around the side of the house is a porch area, which looks more like the front
of the house to me. . .however, these houses were traditionally built with a
formal "front" door, a casual "side" door, and a "back" door. . .probably
for the dirty little rugrats that had been playing out in the fields all day :)
I love everything about this quaint little porch. . .except for the green
carpet, which was on our list of things to do.

While the guys were busy painting the garage, the girls and I decided to get to
work on the porch. . .little did we know that there was another layer of
the lovely carpet underneath! After much tugging, pulling, and squeals from
the occasional spider, we were able to get down to the original wood.

much better. . .

It's now ready for finishing :)


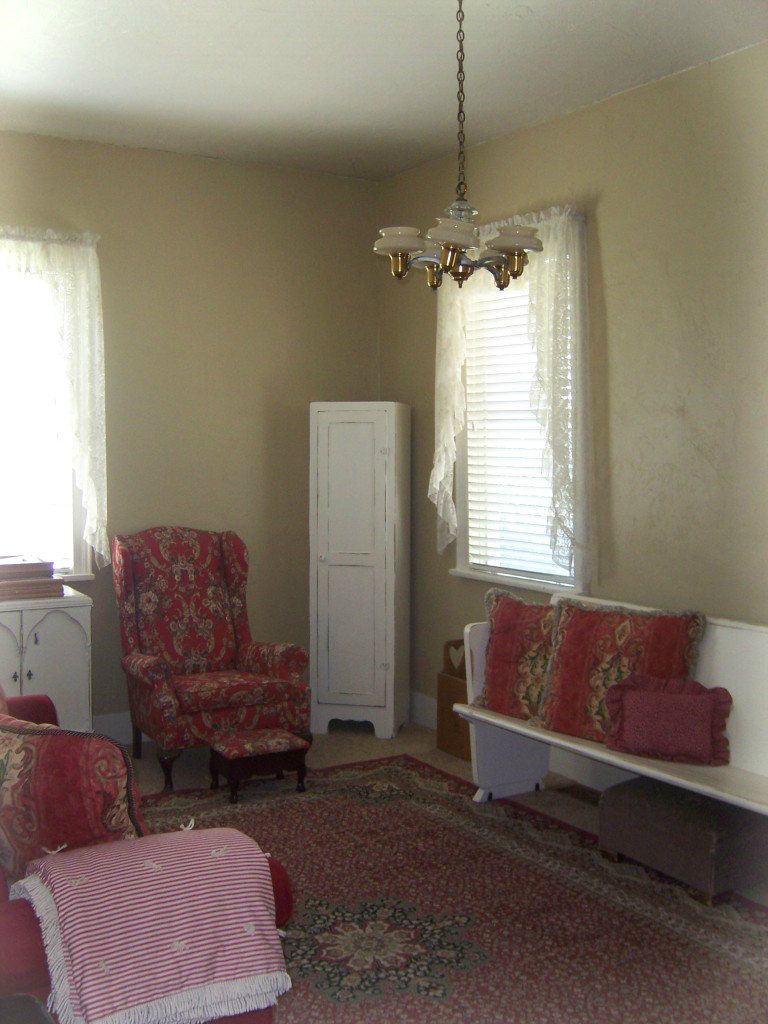
Just inside the porch door is the parlor. . .a tall narrow room, but very cozy :)
The initial idea for this room was to pull down the outdated wood paneling
and wallpaper, and hang bead board. . .however after realizing that the walls
were made of plaster, we decided it wasn't such a good idea since doing so
could do a lot of damage to the brittle plaster. . .


After discussing the situation with the homeowner, we decided to pull down the
wallpaper and texture the two outer walls. . .

We do have ladders, really. . .I promise!!

Here's a close up of the plaster walls with small chunks that had fallen out.
Needless to say, we were relieved with the decision NOT to tear out the paneling. . .

After removing the wallpaper, Todd got busy with the mud. . .

I LOVE the textured look. . .the inconsistent designs, and imperfect patterns.

. . .waiting to dry

Meanwhile, we got to work on the paneling. . .see the little area
that jogs out behind the red bench? That's a slender brick chimney, and
the homeowner wanted it exposed. . .good choice (her and I think very much alike ;)

Here you can see it peeking out :)

After pulling off the paneling, we found a quarter inch mortar layer
which we gently chiseled away at, revealing this beautiful soft colored brick. . .

LOVE it!!
I forgot to get an "after" shot,
which was really dumb, because it was my favorite part,
but next time we head up there I'll snap a picture of it.

Since we didn't dare remove the paneling, the next best option was
to paint it, so as to resemble a wood plank wall.
Here, we are applying a oil based primer, which will seal out any "bleeding" from
the paneling, as well as create a good bondable surface. . .

before. . .
and after. . .
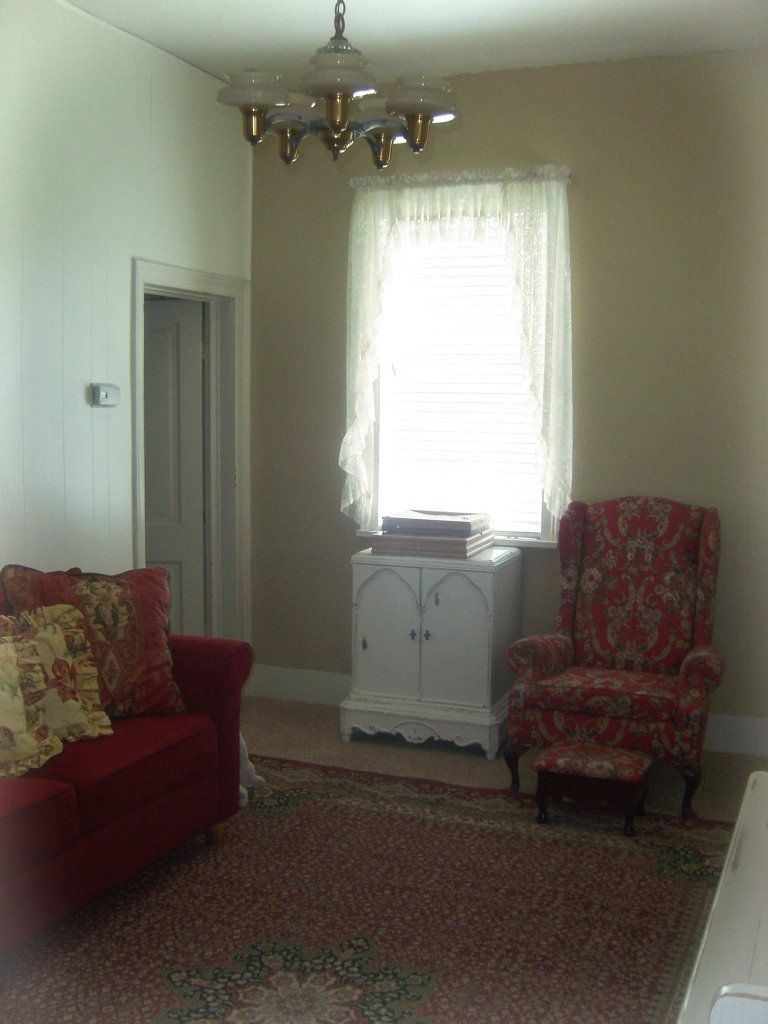
The paneled wall was finished in a soft antique white.
Wallpaper before. . .

. . .and after
We went with a neutral beige as an accent color, which allowed the
fun and cheerful red take center stage.
Here's some of our restoration crew. . .
our oldest son and his darling wife to be :)

Our second son and his adorable gal. . .

Todd and our third son working on the garage. . .
I'm behind the camera, which is a good place for me to be :)

Of course, we had to take an occasional stroll down the street to
visit the cattle and horses. . .this one was so friendly,
we wanted to take him home with us :)
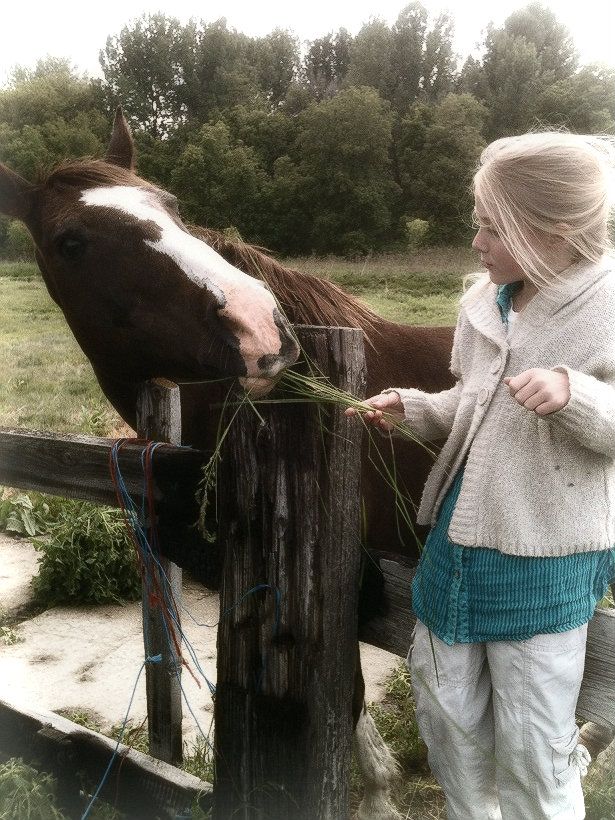
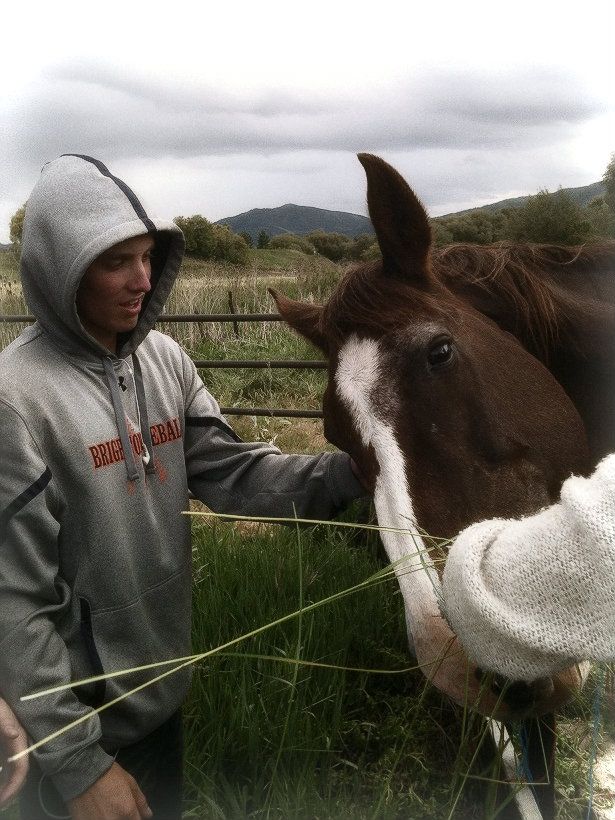
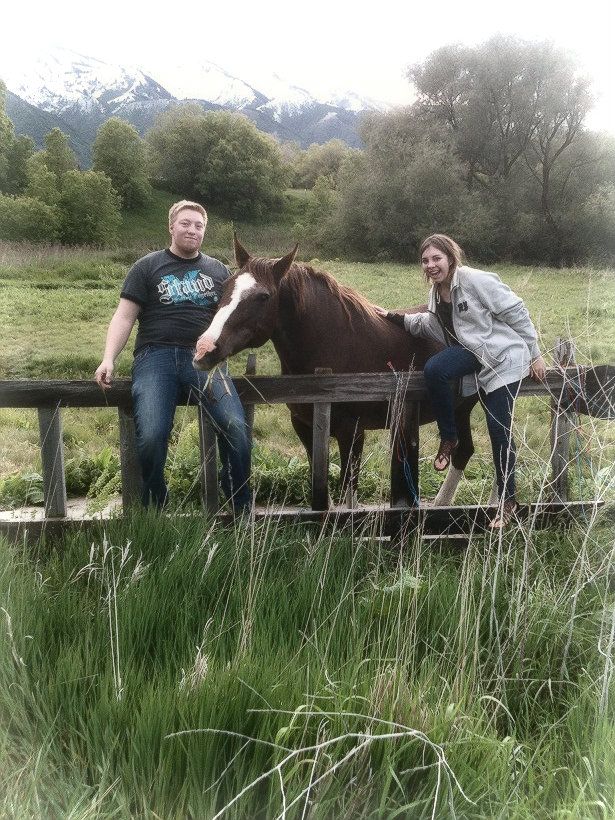
Ahhhh. . .maybe someday :)


0 comments:
Post a Comment